Quick Start
This is the VS Code extension path. For the default product setup, start with Start Here: install the Glubean skill first, then let your IDE agent set up or reuse a verification project.
Prerequisites
- Node.js 22+ — check with
node -v - VS Code (or Cursor / VSCodium)
Install from the VS Code Marketplace or download a VSIX for editor forks.
Option A: Project Mode (real work)
For real projects with environment variables, shared config, source files, and CI integration, initialize a Glubean project first.
mkdir my-api-tests
cd my-api-tests
npx glubean init
This creates:
my-api-tests/
├── tests/            # raw test() checks
├── contracts/        # executable API behavior promises
├── glubean.yaml      # suites and profiles
├── GLUBEAN.md        # project context for agents
├── .env              # environment variables
├── .env.secrets      # sensitive values (gitignored)
└── package.json      # scripts and Glubean dependencies
Open a generated *.test.ts file and click Play in the gutter. The Result
Viewer opens beside your code with the full trace.
For contracts/ and workflow() files, keep authoring in source and run the
project through MCP, package scripts, or the CLI:
npx glubean runSome teams also add an explore/ profile for drafts, reproductions, and
one-case runs. Treat it as an optional working lane, not the default CI suite.
You can also run Glubean: Initialize Project from the Command Palette
(Cmd+Shift+P) to scaffold into the current workspace.
Option B: Clone the Cookbook
The fastest way to see the full picture is to clone runnable examples.
git clone https://github.com/glubean/cookbook.git
cd cookbook
npm install
Open a tests/*.test.ts file, click Play, and inspect the result. Then read
the neighboring contracts/ and workflow examples to see the source-of-truth
pattern before building your own project.
Option C: Scratch Mode (extension demo)
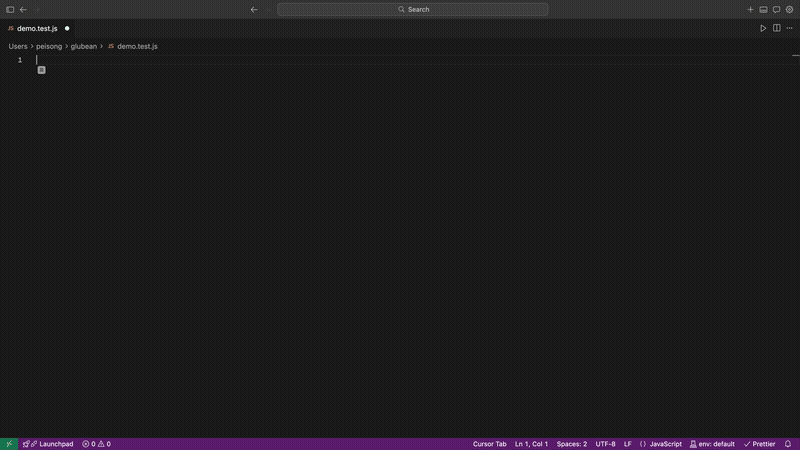
No project, no dependencies, no setup. Scratch Mode is useful for a quick extension demo, but it is not the normal project workflow.
- Create any file ending in
.test.js(e.g.demo.test.js). - Type
gb-scratchand press Tab to expand the snippet — it generates a complete test with import, HTTP request, and assertions. - Click the Play button in the gutter next to
test(.
The extension detects you are outside a Glubean project and runs in Scratch Mode automatically. A one-time notification confirms: “Running in scratch mode — great for trying things out!”
Why
.test.jsand not.test.ts? Scratch Mode skips TypeScript compilation to stay zero-config. Use.test.jsfor scratch files. In a full project,.test.tsworks normally.
What’s next?
- Writing Tests — Snippets, CodeLens, data-driven patterns
- Running Tests — All the ways to run tests from the editor
- Result Viewer — Understand traces, assertions, and history
- Generate with AI — Agent-assisted contracts, workflows, and tests